⚡ TIP: Don't miss an important step by downloading our Call Setup Checklist! ✅
How to Edit Your Call Details
1. Open the Call Editor.
Click Events, then Management from the side menu.
Select your call in the Current Events drop-down menu.
Click the green Call Editor button.
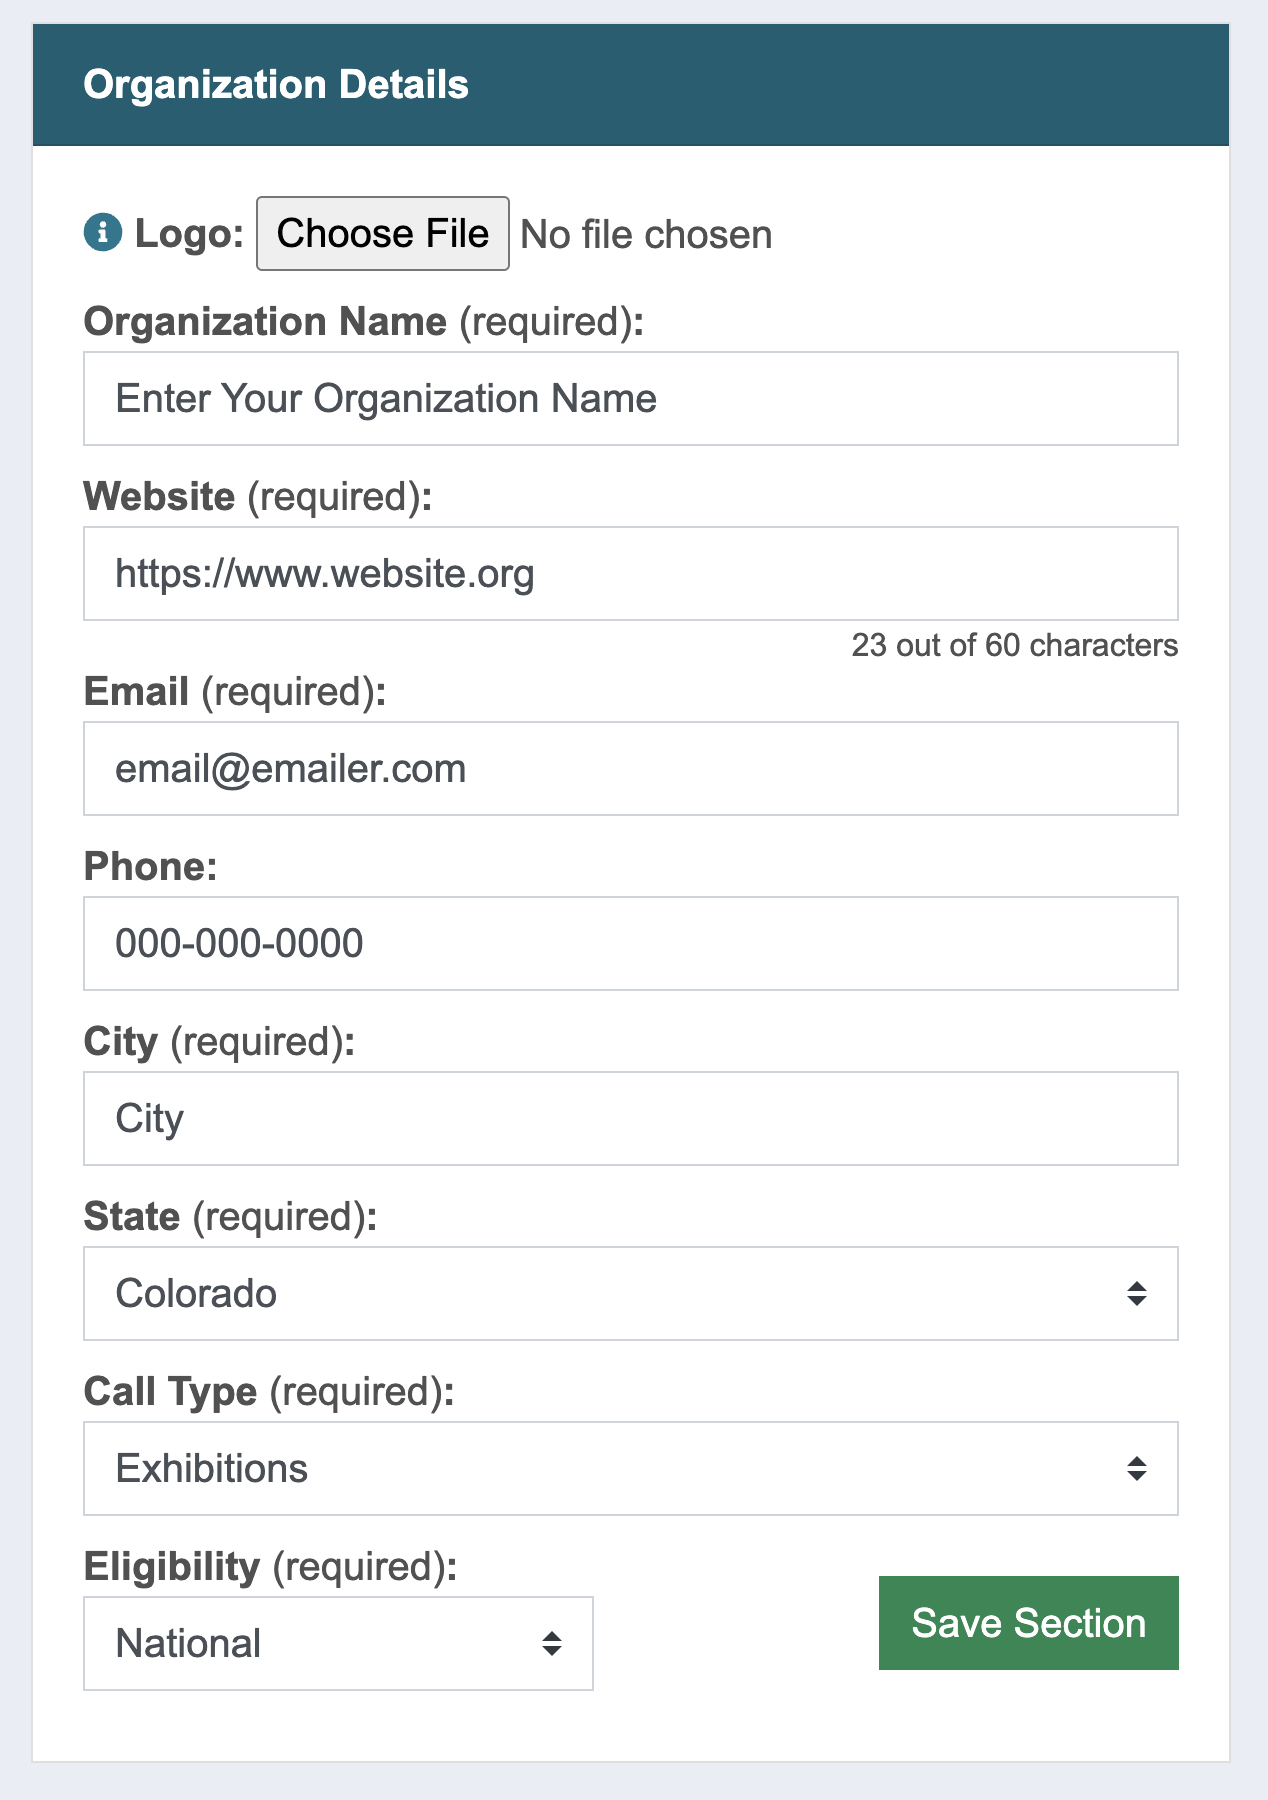
Be sure the Event Information section is selected.
2. Enter your organization’s name, website, applicant contact email and phone number, event city and state, call type, and eligibility—this information helps artists learn about your organization and reach out with questions.
3. Enter the call listing details.
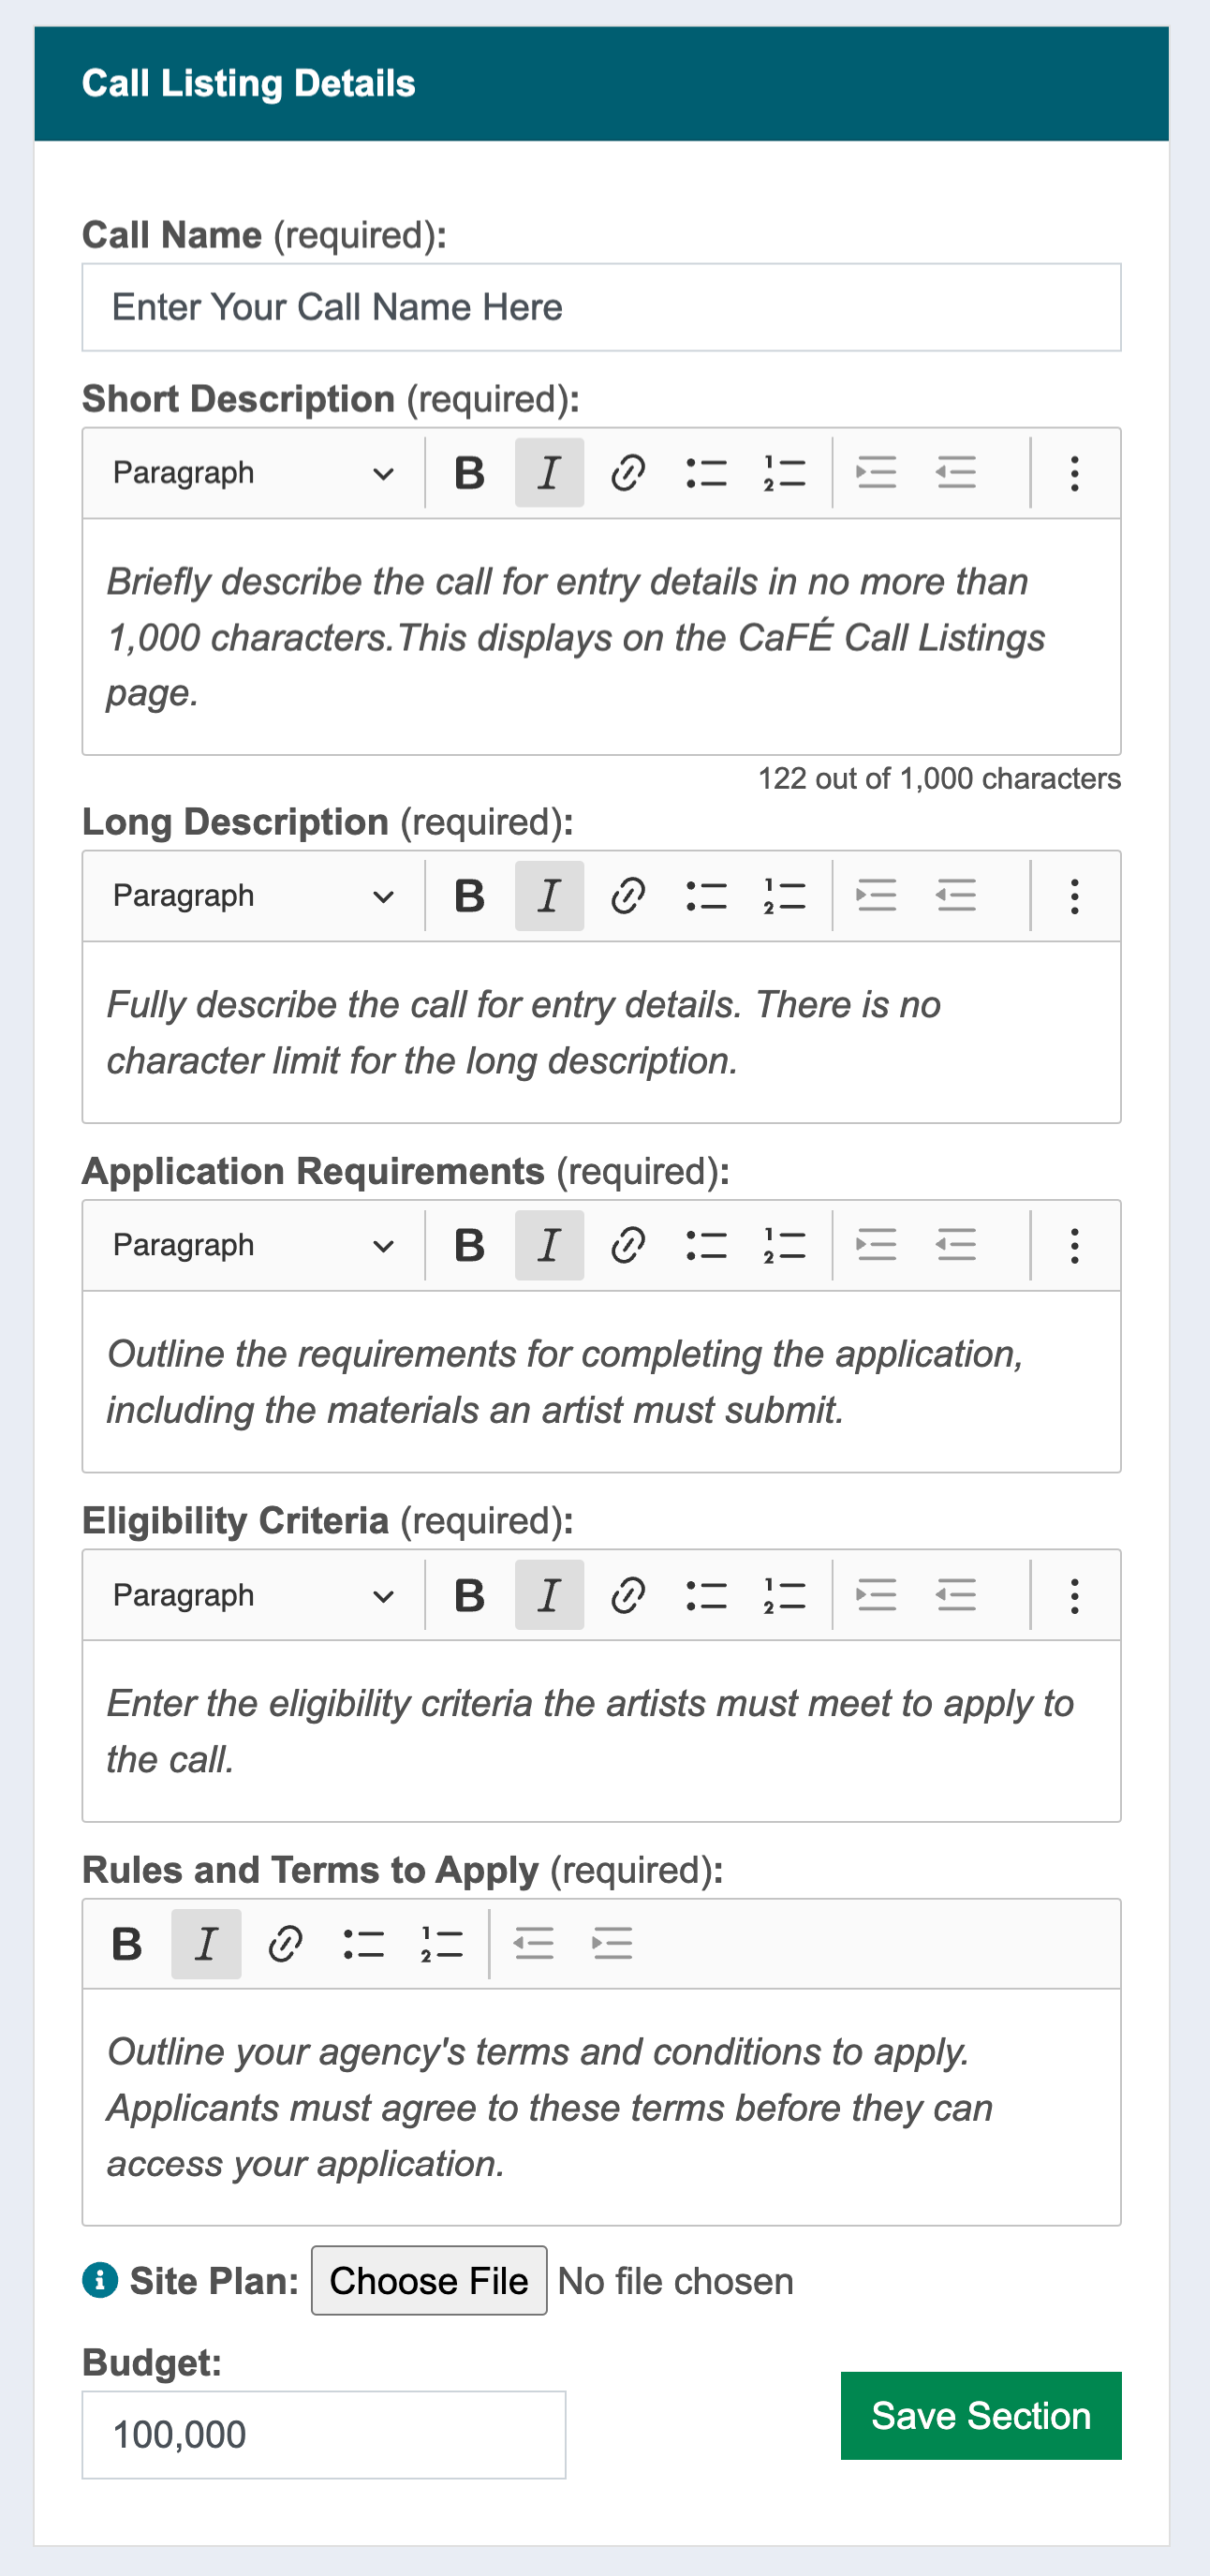
Click the arrow to the left of each field to see more information.
Call Name
This is the title of the call as it will appear on CaFÉ. Short titles display best on mobile devices.
Short Description
Briefly describe the call for entry details in no more than 1,000 characters. Text that exceeds 1,000 characters will be truncated when displayed to artists in the Call Listings page.
Long Description
Fully describe the call for entry and event details. There is no character limit for the long description.
Application Requirements
Outline the requirements for completing the application, including the materials an artist must submit (e.g., resume, references, media requirements, etc.).
Eligiblity Criteria
Enter the eligibility criteria that the artists must meet to apply to the call.
Rules and Terms to Apply
Outline your agency’s terms and conditions to apply. Applicants must agree to these terms before they can access your application.
Site Plan
If applicable, upload a floor or site plan (JPG or PDF only) no larger than 2 MB. To upload, click Choose File and select your file. Click Save Section to load the file onto the call form.
Project Budget
If applicable, enter the project budget that will be granted to the selected artist (typically used for public art calls).
⚡ TIP: Click Save Section to save changes in each section as you go. Click Save Call at the top or bottom of the page to save changes to all sections at once.
4. Adjust all applicable dates for your event.
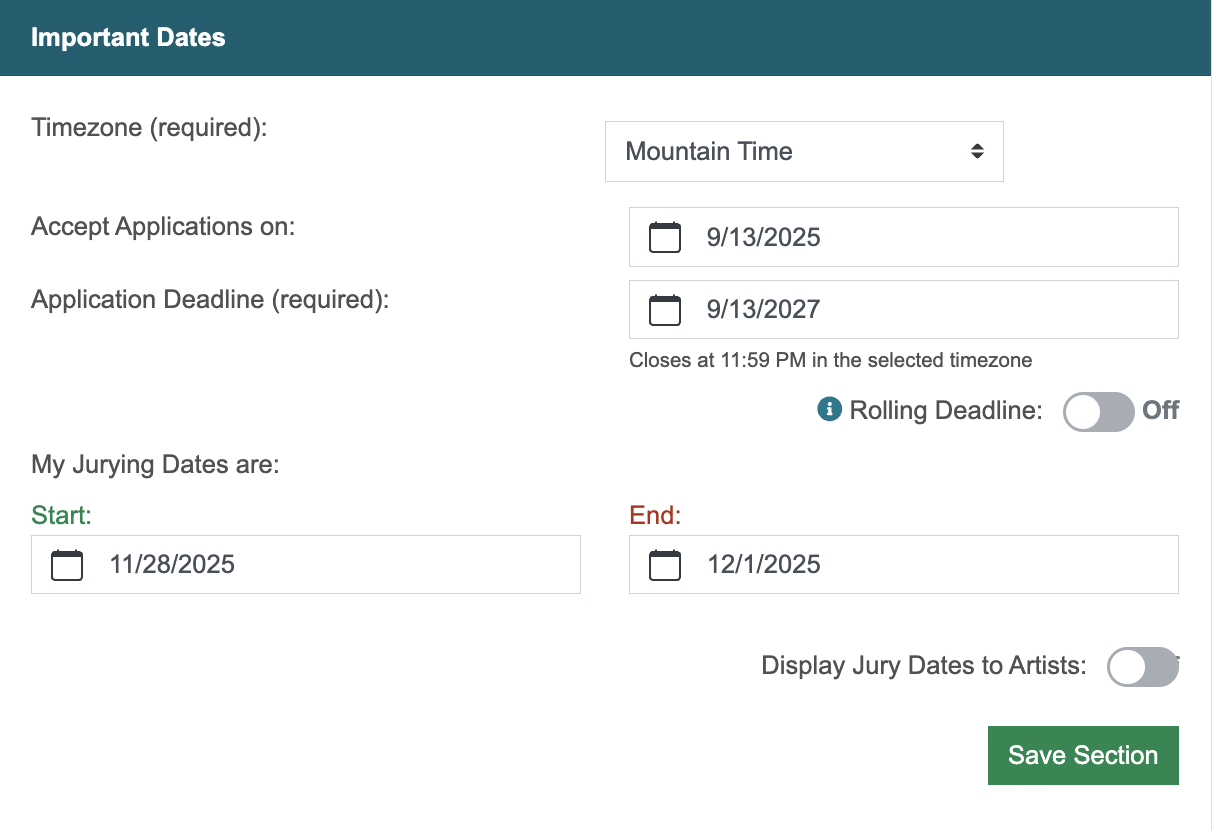
⚠️ Note: Important dates will be based on the time zone set in the Call Editor.
Click the arrow to the left of each setting to see more information.
Accept Applications
This is the date you will begin accepting applications. Once your call is published, artists can apply starting on your Accept Applications date.
Application Deadline
Set a date by which applications must be submitted. Applications close on the deadline date at 11:59 p.m. in the time zone set in the Call Editor. Contact the CaFÉ team 📧 if you need to extend the deadline.
Rolling Deadline
Use the Rolling Deadline if you will accept applications during an extended, ongoing term. Limited to no longer than a 12-month term. Contact the CaFÉ team 📧 to activate this feature.
Jurying Dates
Set the beginning and ending dates of the panel.
Display Jury Dates to Artists
Toggle to On if you want artists to see the jury dates for your call.
5. If applicable, adjust additional settings.

Click the arrow to the left of each setting to see more information.
Exhibition/Activity Date
Enter the dates of your exhibition, event, or activity (e.g. opening and closing exhibition dates, workshops dates, residency dates, etc.).
Confirm Invite and Purchase Due Date
Toggle to On only if juried and invited applicants will owe you an additional participation fee.
Invitational Private Listing
Toggle to On if your call is not open to the public, and you will invite a private list of applicants. Once active, create a passcode to be shared with your invitees.
Prevent Artists from Archiving Entries
This setting determines when your applicants can archive their entries. Turn off once your jury is complete to allow applicants to archive and keep their list of entries current.
6. Verify the Jury Type is correct.
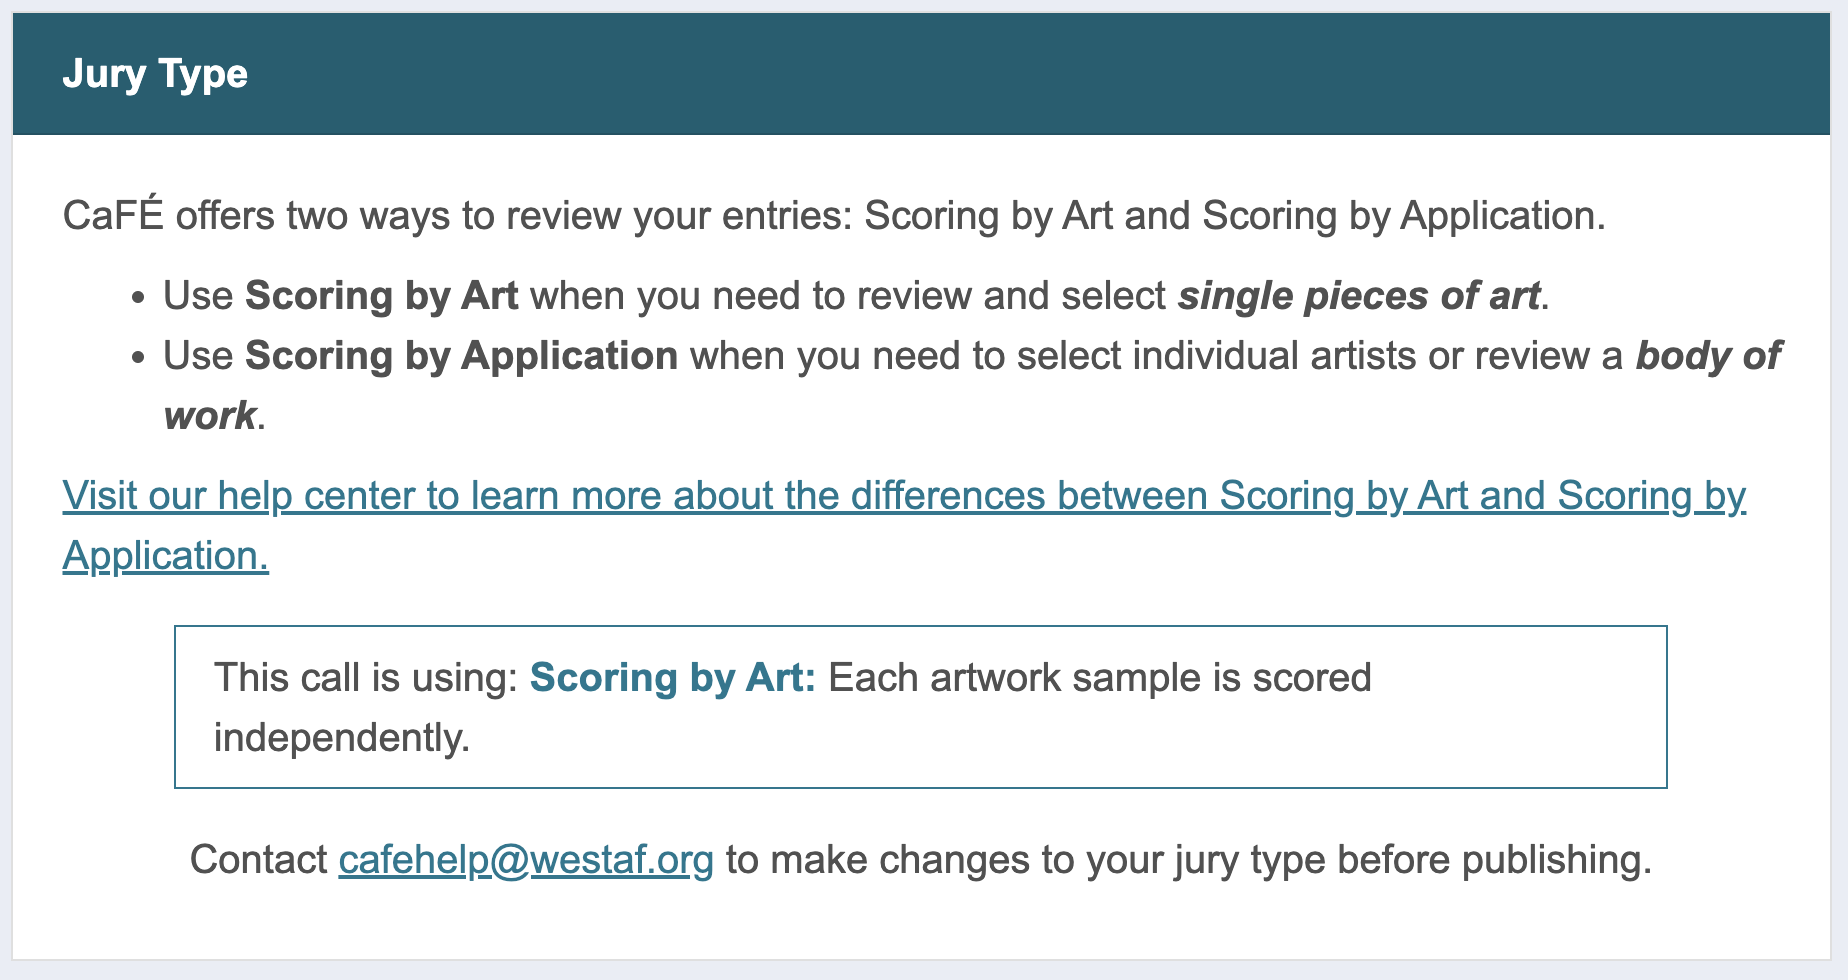
⚠️ Note: The jury type determines how the entries will be submitted and scored. It’s important to ensure you have the correct jury type before you publish your call. Contact the CaFÉ team 📧 to change this setting.
7. Click Preview Call to review the information as it will appear to artists.
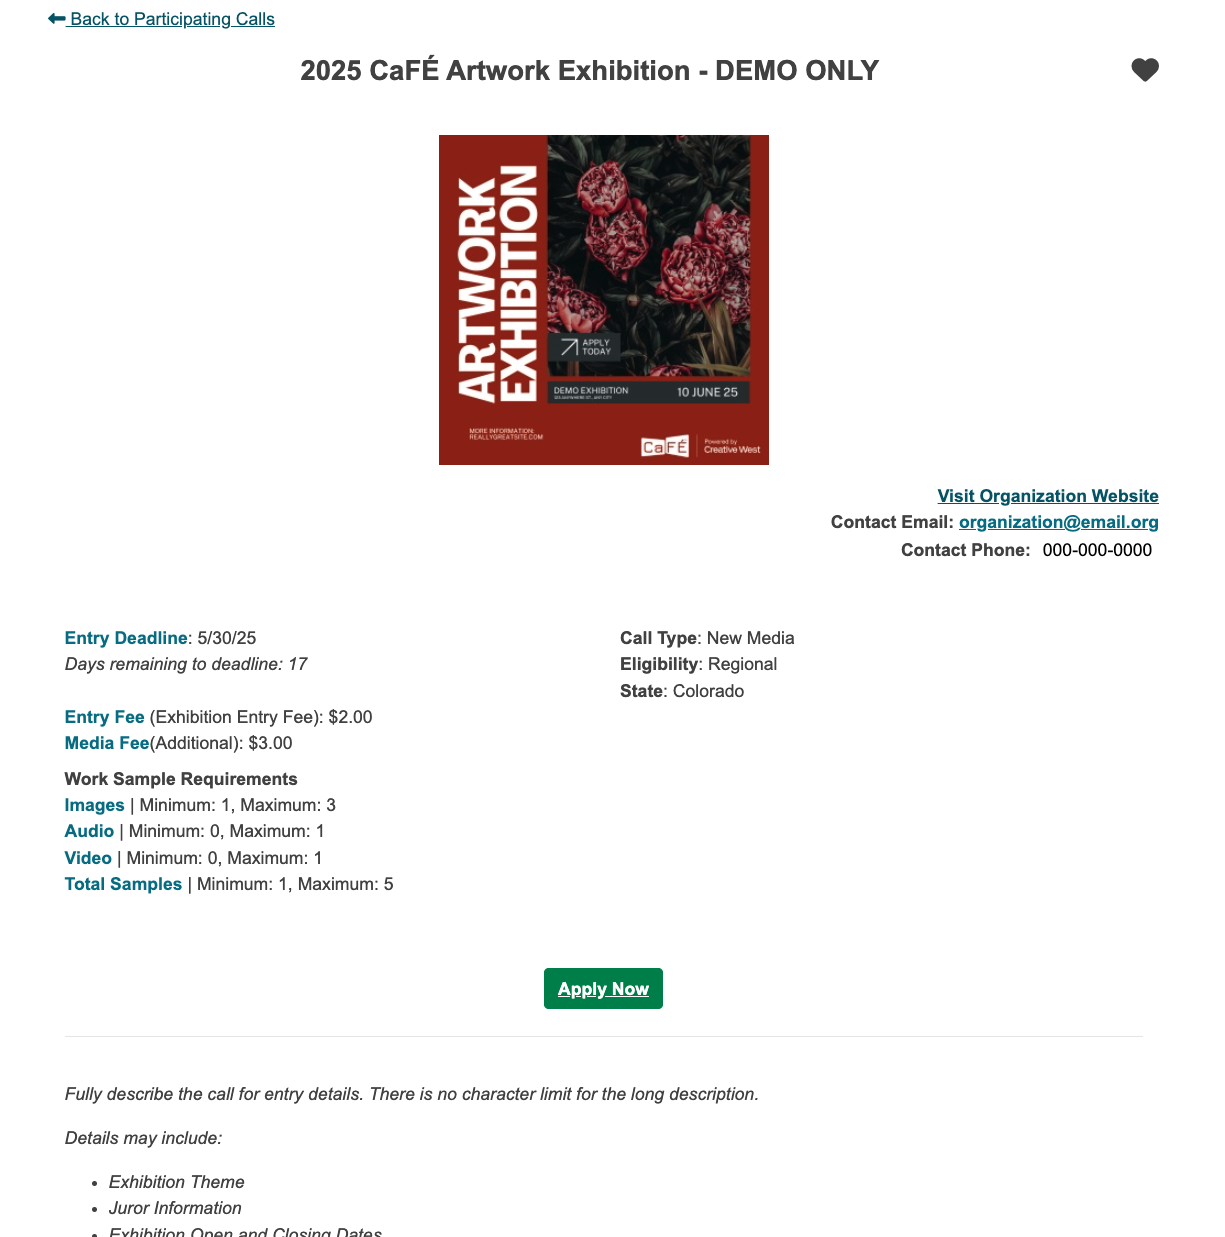
Effective June 23, 2026, if your call is unpublished, your preview will appear different from how it looks in the Creative West Opportunities Portal. To see exactly how your information will appear to artists, click Previe after publishing or go to the Portal and search for your call.
Click Save Call to save changes to all sections. You're now ready to build your application in the Application Editor.